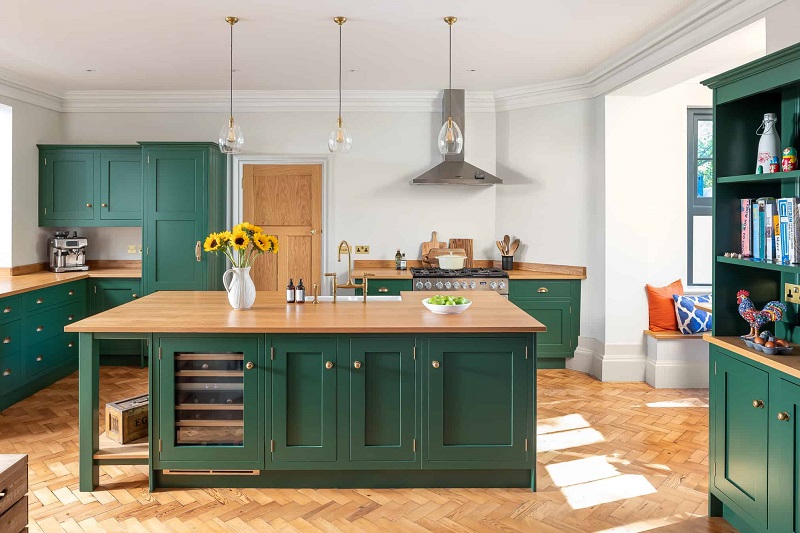
Are your kitchen cupboards looking tired and dated? Perhaps you’re craving a fresh look for your culinary space without breaking the bank on new cabinets. Fear not! Repainting your council kitchen cupboards can be a fantastic way to rejuvenate your kitchen’s ambiance without the need for a major overhaul. In this guide, we’ll walk you through how to paint council kitchen cupboards.
Assess Your Cupboards: Preparing for the Transformation
Before starting the painting process, it’s important to evaluate the state of your kitchen cupboards. Examine for any existing damage, such as cracks, chipped paint, or loose hardware. Once you’ve thoroughly cleaned the surfaces to remove grease, dirt, and grime, consider what type of paint you want to use. If you’re looking for a warm and rich color, a cherry wood paint might be a great choice.
Gather Your Materials: What You’ll Need
To ensure a successful painting project, gather the necessary materials:
- Paint and Primer: Choose a high-quality paint suitable for cabinets. Opt for a primer designed to adhere to glossy surfaces.
- Sanding Materials: Depending on the condition of your cupboards, you may need sandpaper or a sanding block for smoothing surfaces.
- Cleaning Supplies: You’ll need soap, water, and a degreasing cleaner to prep the surfaces.
- Drop Cloths and Painter’s Tape: Protect your kitchen from paint splatters by covering surfaces and using painter’s tape.
Remove Hardware and Doors: Prepping for Paint
Start by removing cabinet doors and hardware. This step allows for easier and more even painting. Lay the doors on a flat surface covered with a drop cloth.
Sanding and Cleaning: The Foundation for a Smooth Finish
Carefully sand the cupboard surfaces and doors to create a rough texture for the paint to adhere to. After sanding, clean the surfaces with a damp cloth to remove dust.
Applying Primer: Setting the Base
Apply a coat of primer to all sanded surfaces. Primer helps paint adhere better and provides a smooth foundation for your chosen color.
Paint Application: Adding a Splash of Color
Choose your desired paint color and apply the first coat evenly. Let it dry thoroughly before applying a second coat for better coverage.
Drying Time: Patience Pays Off
Allow the painted surfaces and doors to dry completely before reattaching hardware and reassembling the cupboards. Rushing this step can lead to smudges and imperfections.
Finishing Touches: Reassembling and Styling
Once everything is dry and back in place, step back and admire your revitalized kitchen cupboards. Consider adding new hardware or knobs to complete the transformation.
Maintenance: Keeping Your Cupboards Looking Fresh
To keep your painted cupboards looking great, clean them regularly with a gentle cleanser and avoid using abrasive materials that could damage the paint.
Conclusion

Revamping your council kitchen cupboards with a fresh coat of paint is a satisfying DIY project that can breathe new life into your kitchen space. With proper preparation, the right materials, and a bit of patience, you can achieve stunning results that make your kitchen a more inviting and vibrant place.
FAQs
Q1: Is it necessary to remove cabinet doors before painting them?
A: Yes, removing doors and hardware allows for smoother and more even paint application.
Q2: Can I use any type of paint for kitchen cupboards?
A: It’s recommended to use high-quality paint specifically formulated for cabinets for the best results.
Q3: How long should I wait between paint coats?
A: Follow the paint manufacturer’s instructions, but generally waiting 4-6 hours between coats is advisable.
Q4: Can I repaint cupboards that were previously painted?
A: Yes, but proper sanding and cleaning are essential to ensure proper adhesion of the new paint.
Q5: Do I need to hire a professional for this project?
A: While it’s a DIY-friendly project, hiring a professional can ensure a flawless finish if you’re not comfortable with the process.