
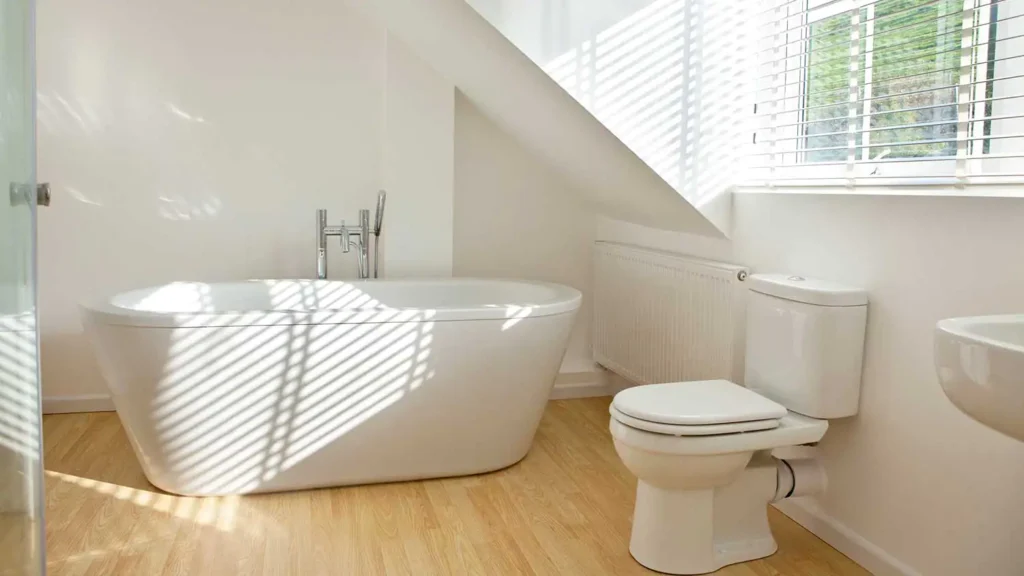
If you’ve discovered a leak around your toilet, there’s a good chance your subfloor has sustained water damage. The subfloor, the structural layer beneath your finished flooring, is crucial to your home’s integrity. When compromised by water, it can lead to further problems, such as mold, sagging floors, or even instability. Replacing the damaged subfloor is essential, but how much will it cost?
This article will guide you through understanding the factors affecting subfloor replacement costs, the DIY vs. professional route, and tips to help you save some money along the way.
Factors Affecting the Cost of Subfloor Replacement
Several elements contribute to the total cost of replacing a subfloor around your toilet. Here are the key ones:
- Extent of Damage: The primary factor is the size of the affected area. A small leak contained within a tight space around the toilet will be less expensive to repair than extensive damage spreading across the bathroom.
- Materials: The standard material for subfloors is plywood, but other options exist. Your choice of material will affect the cost. For bathroom subfloors, generally cement board or a moisture-resistant plywood is recommended.
- Accessibility: If your toilet sits in a cramped space or plumbing lines are difficult to work around, the labor cost will increase.
- Labor: Hiring a professional adds to the overall cost. Depending on experience and location, labor rates can vary significantly.
- Additional Repairs: In cases of severe water damage, joists (the framing supporting the subfloor) or other substructure elements may also require replacement.
Related: How to Unclog a Bathtub with Standing Water
Cost Breakdown
Based on typical scenarios, here’s a general idea of the cost ranges you might encounter:
- Small Area Repair (2×2 feet or less):$150 to $500
- Moderate Area Repair (up to a small bathroom):$500 to $1500
- Extensive Damage (with potential joist repairs):$1500+
DIY vs. Professional: Which Route to Choose?
If you have carpentry skills and experience, replacing a small portion of subfloor can be a DIY project. However, for several reasons, many homeowners opt for a professional:
- Expertise: Professionals have the knowledge and tools to assess the full extent of damage and correctly replace the compromised subfloor.
- Potential Complications: Working around plumbing fixtures and dealing with structural components can be tricky. An experienced contractor will know how to navigate these complexities.
- Time: DIY projects can be time-consuming, especially if you encounter unexpected issues. A professional can often complete the job much faster.
Tips for Cost Savings
Whether you’re opting for DIY or hiring a contractor, here are a few ways to potentially reduce costs:
- Seek Multiple Quotes: Get estimates from several contractors before making a decision.
- Off-Season Work: Prices may be lower if you schedule the work during a contractor’s less-busy seasons.
- DIY Preparation: If hiring a professional, you might be able to save on labor costs by doing some of the prep work yourself, like removing the toilet or existing flooring. Discuss this possibility with your chosen contractor.
Steps Involved in Subfloor Replacement (Simplified Overview)
- Leak Repair: The first step is to identify the source of the leak and fix it completely.
- Toilet Removal: The toilet will need to be removed and disconnected.
- Damaged Flooring Removal: Any flooring covering the subfloor (vinyl, tiles, etc.) needs to be taken out.
- Subfloor Removal: Cut out and remove the damaged section of subfloor.
- Assessment and Repair: Inspect the surrounding areas and joists for damage, repairing as needed.
- New Subfloor Installation: Measure, cut, and install the replacement subfloor section.
- Finish: Reinstall the flooring, toilet, and any baseboards.
Prevention is Key
The best way to avoid costly subfloor repairs is prevention. Here are some tips:
- Regular Leak Checks: Inspect around your toilet periodically for signs of leaks.
- Caulk Maintenance: Ensure the caulk seal around the base of the toilet is in good condition.
- Quick Action: Address any small leaks or moisture issues immediately.
In Conclusion
While the cost of replacing subfloor around your toilet can vary, understanding the factors involved and budgeting accordingly will help you address the issue effectively. Remember, timely subfloor repairs protect your home’s structural integrity and prevent more costly problems down the road.