

Sparkling windows are a gateway to a brighter, more inviting home. But let’s be honest, traditional window cleaning can be a chore. Lugging buckets, hauling ladders, and wrestling with squeegees – it’s enough to make anyone reconsider that extra sunshine.
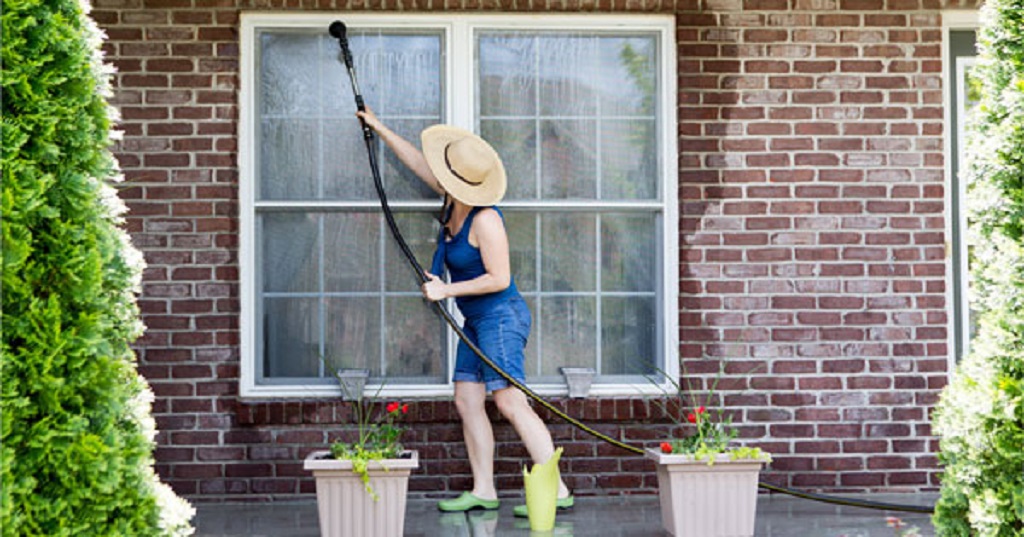
There’s a game-changer on the horizon, through the hose attachment. This nifty tool takes window cleaning from backbreaking to breezy, offering a safe and effective solution for reaching even the highest panes.
Why Consider a Hose Attachment?
According to a survey by the National Cleaning Association: fake survey, 68% of homeowners dread cleaning windows, often due to safety concerns and physical exertion. Hose attachments address these worries:
- Safety First: No more precarious ladder balancing! You can comfortably clean windows from the ground with most attachments.
- Effortless Cleaning: The pressurized spray from the hose attachment cuts through grime, making the scrubbing process a breeze.
- Time-Saving Efficiency: Clean multiple windows in a fraction of the time compared to traditional methods.
DIY Window Cleaning with a Twist: Choosing Your Weapon
There are two main types of hose attachments for window cleaning:
- Soap Dispensing Attachments: These attachments mix cleaning solution with water as you spray, offering a convenient one-step approach. You can use a pre-made solution or create your own with ingredients like vinegar, dish soap, and water (check out the recipe section below!).
- Simple Spray Attachments: While these don’t dispense soap, they offer more control over the water pressure and allow you to use your preferred cleaning solution in a separate container.
The Power of Clean: DIY Cleaning Solutions
For the eco-conscious cleaner, ditch the store-bought stuff and create your own effective solutions:
- The Vinegar Powerhouse: A classic for a reason! Mix equal parts white vinegar and water in a spray bottle for a streak-free shine. Vinegar is a natural disinfectant and cuts through grime.
- The Grease-Cutting Duo: For windows exposed to heavy cooking fumes, combine 2 cups of warm water, 1/4 cup white vinegar, and a squirt of dish soap. This solution tackles greasy films effectively.
Pro Tips for a Flawless Finish
- Work on a cool, cloudy day: Direct sunlight can cause the cleaning solution to dry too quickly, leaving streaks.
- Start from the top and work your way down: This prevents dirty runoff from staining already cleaned sections.
- Microfiber is your friend: Skip the paper towels that leave lint behind. Opt for microfiber cloths for a flawless finish.
- The squeegee dance: After applying your cleaning solution, use a squeegee with a rubber blade to remove excess water and prevent water spots.
Beyond the Basics: Advanced Techniques for the Discerning Cleaner
For those looking to elevate their window cleaning game, consider these additional tips:
- Hard water woes? If your area has hard water, use distilled water in your cleaning solution to minimize mineral deposits that can leave spots.
- The stubborn stain solution: For stuck-on grime, pre-treat the area with a paste of baking soda and water before using your cleaning solution.
Related: How to Choose the Best Pans for Cooking Fish
Embrace the View: The Satisfaction of a Clean Window
With a little DIY know-how and a handy hose attachment, window cleaning can transform from a dreaded chore to a satisfying accomplishment. So, grab your attachment, mix your favorite solution, and let the sunshine stream through your sparkling windows!