
Vintage entry lanterns add a classic touch to any home, but they often come with outdated wiring that may pose a safety hazard. Rewiring a vintage entry lantern is a great DIY project that can save you money and ensure that your lantern is safe to use. In this comprehensive guide, we will walk you through the steps to rewire your vintage entry lantern.
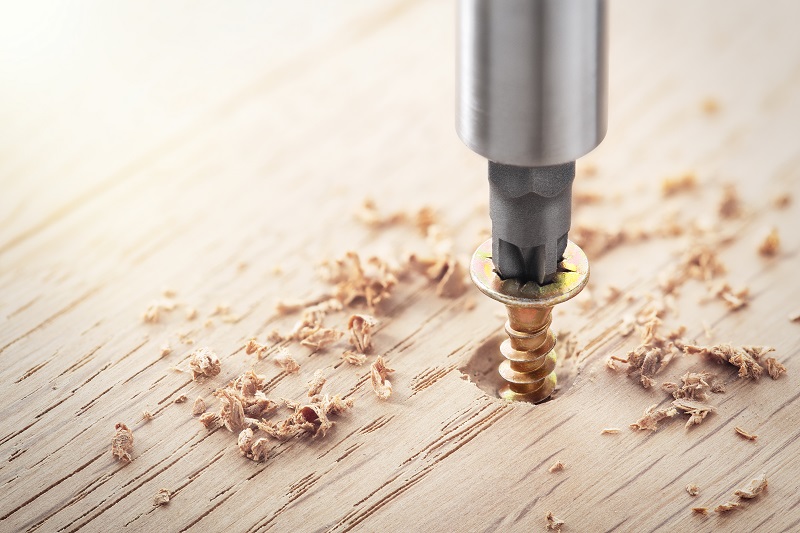
Tools and materials needed
Before starting this project, gather the following tools and materials:
- Wire strippers
- Wire cutters
- Screwdriver
- Needle-nose pliers
- Electrical tape
- New wire (make sure it is the same gauge as the old wire)
- New socket
Safety precautions
Working with electricity can be dangerous. Before starting this project, make sure to take the following safety precautions:
- Turn off the power to the lantern at the circuit breaker.
- Wear protective gear, such as rubber gloves and safety glasses.
- Keep the work area dry.
- Do not touch the wires or the circuit breaker with wet hands.
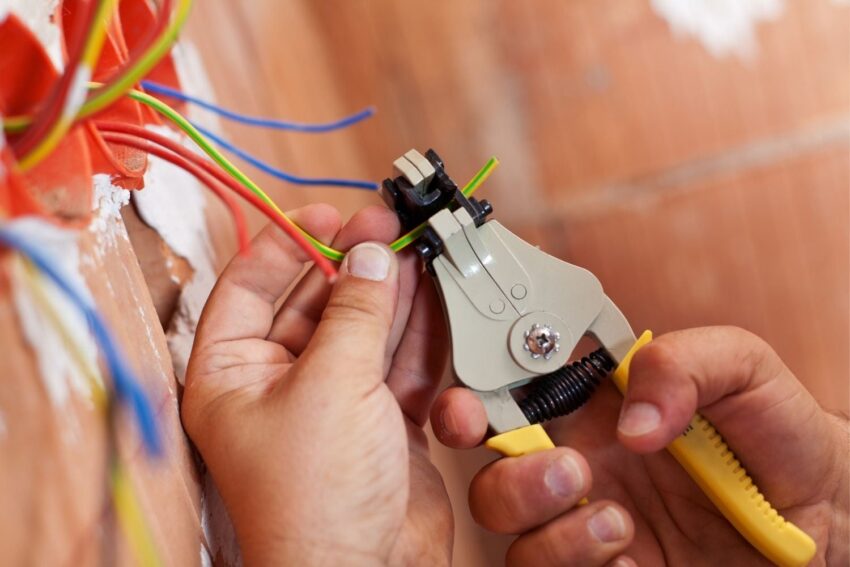
Step 1: Remove the old wiring
The first step in rewiring your vintage entry lantern is to remove the old wiring. To do this, you will need to take apart the lantern. Start by removing any screws or clips that are holding the lantern together. Once the lantern is open, carefully remove the old wiring from the socket and any other parts of the lantern where it is attached.
Step 2: Clean the lantern
While the lantern is apart, take the time to clean it thoroughly. Use a soft cloth to wipe down the inside and outside of the lantern. If there is any rust or corrosion, use a wire brush or sandpaper to remove it.
Step 3: Measure and cut the new wire
Measure the length of wire needed to rewire your lantern, then cut the wire to the appropriate length using wire cutters. Strip the ends of the wire with wire strippers.
Step 4: Install the new socket
Install the new socket by threading the wire through the bottom of the socket and attaching it to the terminals on the socket. Make sure the wires are securely attached and there is no exposed wire.
Step 5: Install the new wiring
Thread the wire through the lantern and attach it to the other parts of the lantern where the old wiring was attached. Use electrical tape to secure the wire in place and prevent it from moving around.
Step 6: Reassemble the lantern
Reassemble the lantern by putting all the parts back together in the reverse order that you took them apart. Make sure all screws and clips are securely in place.
Step 7: Test the lantern
Test the lantern by turning on the power at the circuit breaker. If the lantern does not light up, turn off the power and troubleshoot any issues before turning the power back on.
Troubleshooting
Conclusion
Rewiring a vintage entry lantern is a DIY project that can save you money and ensure that your lantern is safe to use. By following the steps outlined in this comprehensive guide, you can easily rewire your vintage entry lantern and enjoy its classic beauty for years to come.