Decorating the walls with beautiful artwork is an excellent way to spruce up any space, be it your home or office. However, hanging unframed prints can be a daunting task. It requires careful planning and execution to ensure that the artwork is securely attached to the wall and looks aesthetically pleasing. In this article, we will guide you through the steps to hang unframed prints on the wall like a pro.
Understanding the Basics
Before you start hanging the prints, it’s essential to understand the basics of hanging unframed artwork. Here are a few things to keep in mind:
Choose the Right Location
The first step in hanging unframed prints is to choose the right location. Consider the size and shape of the print and the available wall space. A large print may overpower a small wall, while a small print may get lost on a big wall.
Gather the Tools
You will need a few tools to hang unframed prints, including a measuring tape, a level, a pencil, a hammer, nails, and hanging hardware. Make sure you have everything you need before you start.
Select the Hanging Hardware
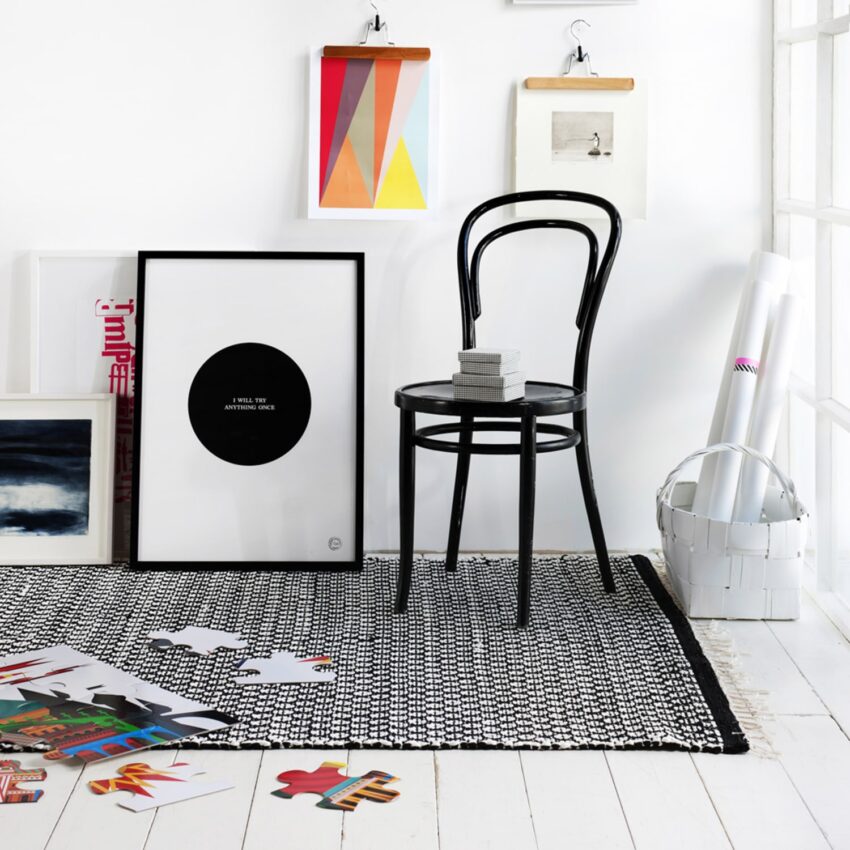
Different types of hanging hardware are available, such as adhesive strips, picture hangers, and wire hangers. Select the hardware that is appropriate for your print’s weight and size.
Steps to Hang Unframed Prints on the Wall
Now that you have a basic understanding of the process let’s dive into the steps to hang unframed prints on the wall:
Step 1: Measure the Wall Space
Measure the wall space where you want to hang the print. This will help you determine the appropriate size of the print.
Step 2: Measure the Print
Measure the size of the print and mark the dimensions on the wall using a pencil.
Step 3: Attach the Hanging Hardware
Attach the appropriate hanging hardware to the back of the print. For example, if the print is light, adhesive strips may work, but for heavier prints, picture hangers or wire hangers are more appropriate.
Step 4: Mark the Hanging Points
Measure and mark the hanging points on the wall using a level. Ensure that the marks are straight and evenly spaced.
Step 5: Hammer the Nails
Hammer the nails into the wall at the marked points. Leave a small space between the wall and the nailhead to hang the print.
Step 6: Hang the Print
Hang the print on the nails, adjusting it until it’s level.
Tips and Tricks
Here are some additional tips and tricks to help you hang unframed prints like a pro:
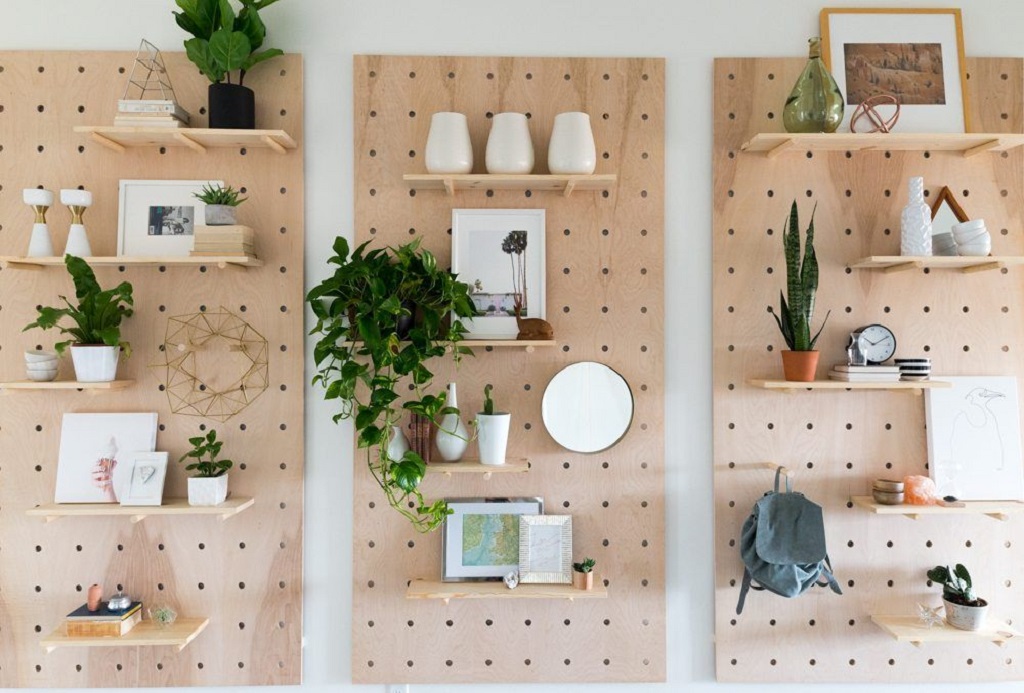
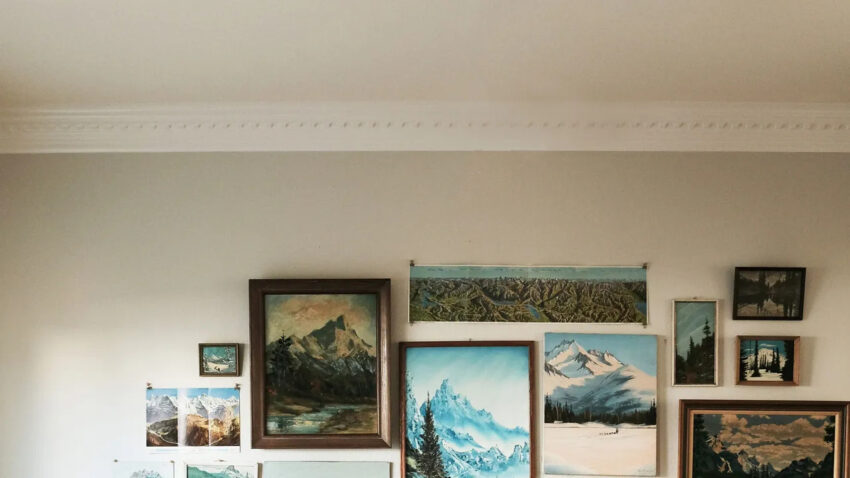
- To create a cohesive look, consider grouping several prints of varying sizes and shapes.
- Always hang the prints at eye level for optimal viewing.
- Use a template or painter’s tape to create a visual guide before hammering the nails.
- Consider using a level app on your smartphone for precise leveling.
Conclusion
Hanging unframed prints may seem challenging, but with the right tools and techniques, it’s an easy and fun task. Follow the steps outlined in this article, and you’ll have a beautiful display of unframed artwork in no time.