

Are you tired of your white refrigerator and want to give it a new, modern look? One option is to paint it with stainless steel paint. This can be a cost-effective way to transform the appearance of your fridge without having to purchase a new one. In this article, we’ll provide a step-by-step guide on how to add stainless steel paint to a white refrigerator.
Materials Needed
Before starting the project, gather all necessary materials. Here’s what you’ll need:
- Stainless steel paint
- Paint roller
- Paintbrush
- Paint tray
- Painter’s tape
- Sandpaper
- Plastic drop cloth
- Clean cloth
- Cleaning solution
Preparing Your Refrigerator for Painting
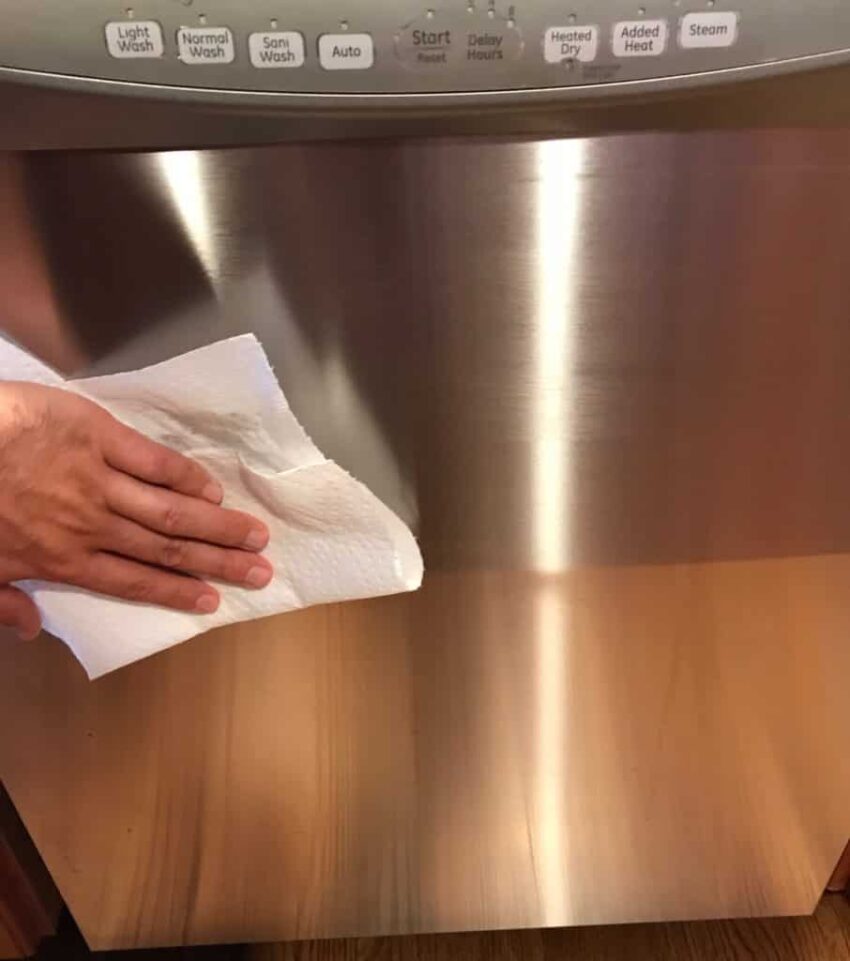
The first step in painting your refrigerator is to prepare it. Make sure the surface is clean and free of any debris or dust. Wipe down the fridge with a clean cloth and cleaning solution.
Next, use painter’s tape to cover any areas you don’t want to paint, such as handles, logos, or buttons. Sand the surface of the fridge with sandpaper to create a textured surface for the paint to adhere to. Use a plastic drop cloth to protect your floors and surrounding area from any paint splatters or spills.
Applying the Stainless Steel Paint
Once your refrigerator is prepared, it’s time to apply the stainless steel paint. Stir the paint thoroughly and pour it into a paint tray. Dip a paint roller into the tray and roll the paint onto the fridge, starting at the top and working your way down. Use a paintbrush to get into any hard-to-reach areas or corners.
Apply a second coat of paint after the first coat has dried. Allow the paint to dry completely, following the manufacturer’s recommended drying time.
Tips for a Professional-Looking Finish
To achieve a professional-looking finish, follow these tips:
- Use a high-quality stainless steel paint
- Apply thin, even coats of paint
- Sand between coats for a smoother surface
- Remove any bubbles or brush marks with a clean, dry brush
- Allow each coat to dry completely before applying the next
Caring for Your Newly Painted Stainless Steel Refrigerator
To ensure your newly painted stainless steel refrigerator lasts, follow these care tips:
- Clean the surface with a soft cloth and a mild cleaning solution
- Avoid using abrasive cleaners or scrubbers that can scratch the surface
- Do not use anything with ammonia or bleach
- Avoid placing magnets or anything else that can scratch the surface
- Touch up any scratches or chips with touch-up paint
Frequently Asked Questions
Can I use any type of paint for this project?
No, it’s important to use paint specifically designed for use on stainless steel surfaces.
How long does it take for the paint to dry?
Drying time can vary depending on the manufacturer’s instructions. Typically, it takes several hours for the paint to dry completely.
Is it safe to use stainless steel paint on a refrigerator?
Yes, as long as you follow the manufacturer’s instructions and use the paint as directed.
Do I need to use a primer before applying the stainless steel paint?
It’s recommended to use a primer specifically designed for use on stainless steel surfaces. This will help the paint adhere better and provide a more even finish.
Can I paint over the stainless steel paint in the future?
Yes, you can paint over the stainless steel paint in the future. Just be sure to follow proper preparation techniques before applying a new coat of paint.
Conclusion
Painting your white refrigerator with stainless steel paint is a great way to update its appearance without breaking the bank. By following these steps, you can transform your fridge into a sleek, modern appliance that will enhance the look of your kitchen. With proper care and maintenance, your newly painted stainless steel refrigerator will last for years to come.