Are you looking for a unique and innovative way to enhance the look and feel of your living space? Consider adding a 3D wall print to one of your walls! A 3D wall print is a fascinating and engaging design element that will impress your guests and make your home look more stylish and modern. In this article, we will guide you through creating a stunning 3D wall print for your home step-by-step. Let’s get started!
Understanding 3D Wall Printing
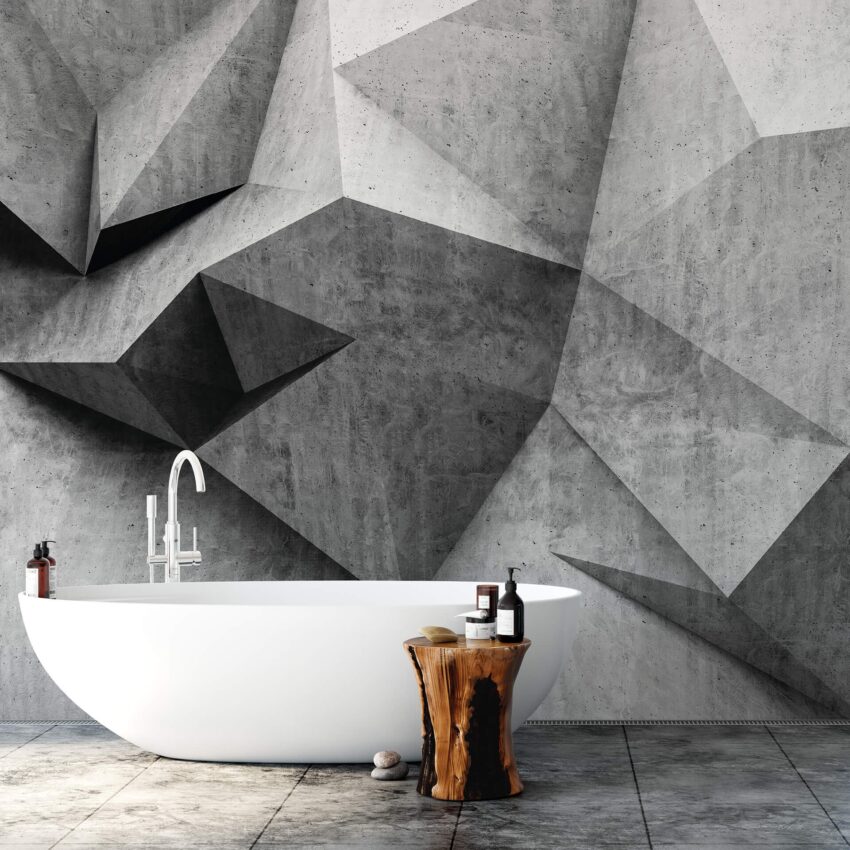
Before diving into creating a 3D wall print, let’s first understand what it is. A 3D wall print is a three-dimensional design printed directly onto a wall or panel using a specialized printer. This printing process creates a textured effect that makes the design pop and stand out from the wall’s surface. 3D wall prints can be customized to suit any design preference and are a fantastic way to add a unique and artistic touch to your home.
Choosing the Right Design
The first step in creating a 3D wall print is choosing the right design. You can create your design or choose one from the many online options. When selecting a design, consider the size of the wall you want to print on, the room’s color scheme, and the overall style of your home. Choose a design that complements your home’s aesthetic and adds visual interest without overwhelming the space.
Preparing the Wall
Once you have selected the design, it’s time to prepare the wall for printing. The wall must be smooth and clean to ensure that the print adheres correctly. Use sandpaper to smooth out rough patches or imperfections on the wall’s surface. Then, wipe the wall down with a damp cloth to remove dust or debris. If the wall is painted, it’s recommended to use a primer to ensure that the print adheres correctly.
Printing the Design
Now that the wall is ready, it’s time to print the design. A specialized printer is required for 3D wall printing, and hiring a professional for this step is recommended. The printer will apply the design directly onto the wall, creating a three-dimensional effect that adds depth and texture to the space. The printing process typically takes a few hours, depending on the wall’s size and the design’s complexity.
Adding Finishing Touches
After the printing process is complete, it’s time to add the finishing touches. Trim any excess material around the edges of the design, and use a clear coat to protect the print and give it a glossy finish. You can also add lighting to the design to enhance its three-dimensional effect and create a focal point in the room.
Caring for Your 3D Wall Print
To ensure that your 3D wall print lasts for years to come, it’s essential to care for it properly. Avoid using abrasive cleaners or scrubbing the print with a rough sponge, which can damage the design’s texture. Instead, use a soft cloth and mild soap to clean the print. Avoid exposing the print to direct sunlight for prolonged periods, which can cause the colors to fade over time.
Conclusion
Creating a 3D wall print is an exciting and innovative way to add visual interest to your home. Following these simple steps, you can create a stunning and unique 3D wall print to impress your guests and make your home look more stylish and modern. Remember to choose a design that complements your home’s aesthetic, prepare the wall properly, and care for the print to ensure it lasts for years.