Are you tired of your dull and reinvigorating shower experience? It might be time for you to upgrade to a hydro jet showerhead. A hydro jet shower head is a type of shower head that uses pressurized water to provide a spa-like shower experience. It’s easy to install and can be done in a few simple steps. In this article, we will guide you through the process of installing a hydro jet shower head.
What is a Hydro Jet Shower Head?
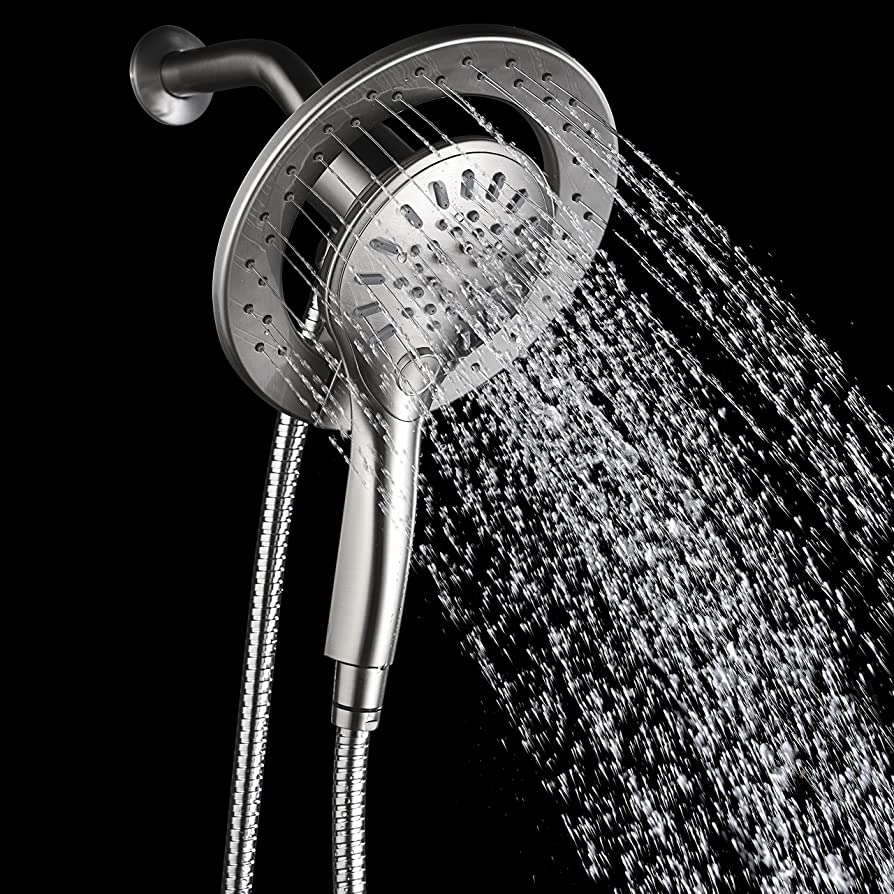
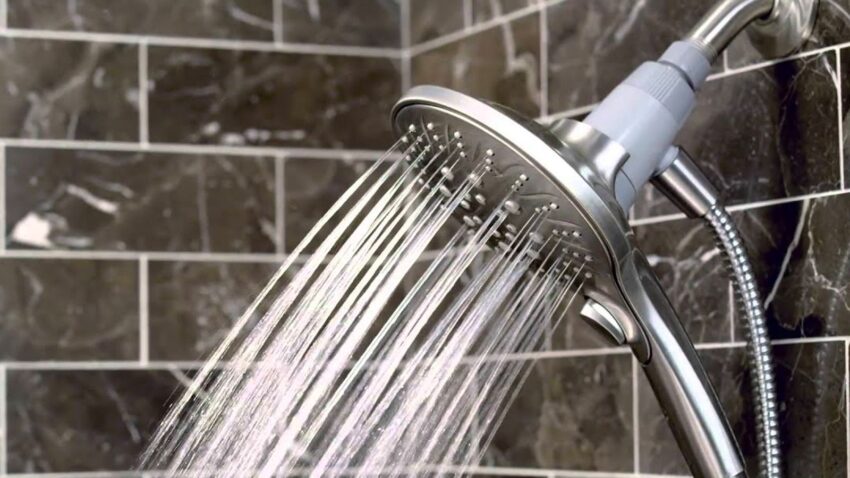
A hydro jet shower head is a shower head that uses pressurized water to provide a more invigorating and luxurious shower experience. It works by using a series of small holes or nozzles that release high-pressure water, creating a massaging effect on the skin.
Why Choose a Hydro Jet Shower Head?
A hydro jet shower head provides a number of benefits, including:
- A more luxurious and invigorating shower experience.
- Improved water pressure and flow.
- Increased water efficiency by reducing the amount of water used.
- Reduced water and energy bills.
- Easier cleaning due to the anti-clogging design.
- Environmentally friendly and sustainable.
Pre-Installation Preparation
Before you begin the installation process, it is important to prepare the shower area. Make sure to:
- Turn off the water supply to the shower.
- Remove any old shower heads or attachments.
- Clean the area around the shower pipe to remove any debris or buildup.
Tools and Materials Needed
To install a hydro jet shower head, you will need the following tools and materials:
- Adjustable wrench
- Pliers
- Thread seal tape
- Hydro jet shower head kit (including shower head, arm, and flange)
Step-by-Step Guide to Installing a Hydro Jet Shower Head
Follow these simple steps to install your hydro jet shower head:
- Attach the flange to the shower arm. Use pliers to tighten the flange securely onto the shower arm.
- Apply thread seal tape to the threads of the shower arm. This will help prevent leaks.
- Attach the hydro jet shower head to the shower arm. Use an adjustable wrench to tighten the shower head onto the shower arm.
- Turn on the water supply to the shower and test for any leaks. If you notice any leaks, turn off the water supply and tighten the connections.
Once the hydro jet shower head is installed, test it by turning on the water and adjusting the pressure and flow settings. Make sure to adjust the settings to your liking, and enjoy your invigorating shower experience.
Maintenance and Cleaning of a Hydro Jet Shower Head
To ensure your hydro jet shower head continues to function properly, it is important to clean and maintain it regularly. Follow these steps:
- Remove the shower head from the shower arm.
- Soak the shower head.
- Clean the nozzles with a toothbrush or soft brush to remove any buildup or debris.
- Rinse the shower head with warm water.
- Reattach the shower head to the shower arm.
- Perform this cleaning process once a month to prevent any clogs or buildup.
Tips and Tricks for Using a Hydro Jet Shower Head
Here are some tips and tricks for using your hydro jet showerhead:
- Adjust the pressure and flow settings to your liking.
- Experiment with the different spray patterns and massage settings to find the perfect shower experience.
- Use a water-saving mode to reduce water usage and save money on your water bill.
- Clean the shower head regularly to prevent clogs and maintain optimal performance.
Frequently Asked Questions (FAQs)
Q1. Can I install a hydro jet shower head myself?
A1. Yes, installing a hydro jet shower head is a simple and easy process that can be done by anyone with basic plumbing skills.
Q2. What is the difference between a hydro jet shower head and a regular shower head?
A2. A hydro jet shower head uses pressurized water to provide a more invigorating shower experience and has different spray patterns and massage settings. Regular shower heads do not provide the same level of water pressure and flow.
Q3. How do I clean my hydro jet shower head?
A3. Remove the shower head from the shower arm, soak it in warm water, clean the nozzles with a toothbrush or soft brush, rinse it with warm water, and reattach it to the shower arm.
Q4. How long do hydro jet shower heads last?
A4. Hydro jet shower heads can last for several years with proper maintenance and cleaning.
Q5. Do hydro jet shower heads use more water than regular shower heads?
A5. No, hydro jet shower heads are designed to be more water-efficient than regular shower heads, reducing water usage and saving money on water bills.
Conclusion
Installing a hydro jet shower head is a simple and easy process that can provide a more luxurious and invigorating shower experience. By following the steps outlined in this guide, you can upgrade your shower in no time. Remember to clean and maintain your hydro jet shower head regularly to ensure optimal performance and longevity.