You turn on the kitchen tap on a cold morning, and nothing comes out but a faint hiss. Somewhere behind the wall, water has turned to ice. If you need to thaw frozen pipe quickly without splitting the metal or plastic, the clock is already running.
Quick answer: First shut off the water supply and open the nearest faucet to relieve pressure. Then warm the frozen section gradually with a hair dryer, warm towels, or a space heater placed at a safe distance. Never use an open flame or a blowtorch. Most exposed pipe thaws in 20 to 60 minutes, and gentle heat is the single rule that matters most.
This guide explains what happens inside a frozen pipe, why acting fast protects both your home and your wallet, and which methods thaw safely. You will finish knowing the best practices, the mistakes that cause bursts, and when to call a plumber.
What is thaw frozen pipe?
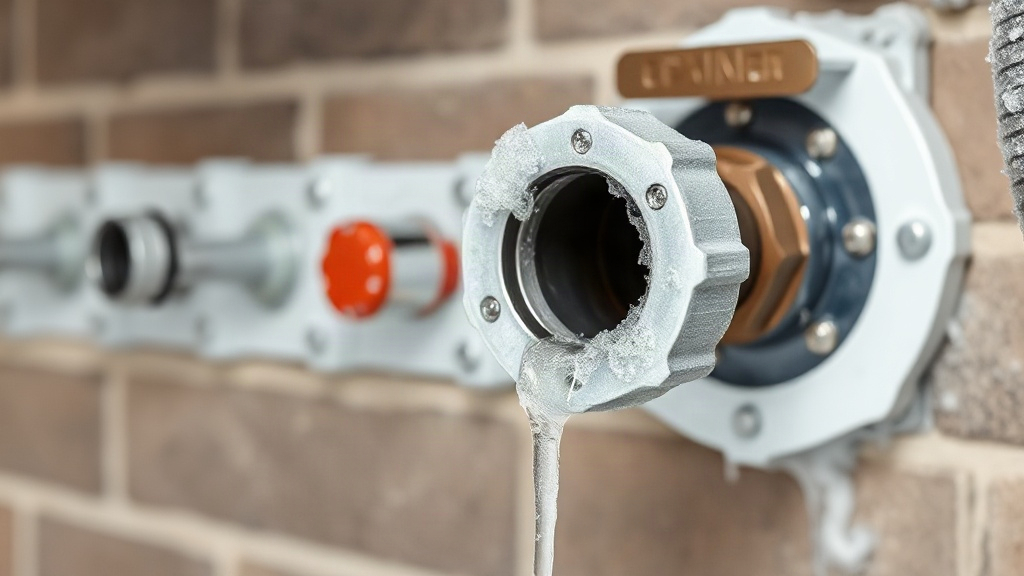
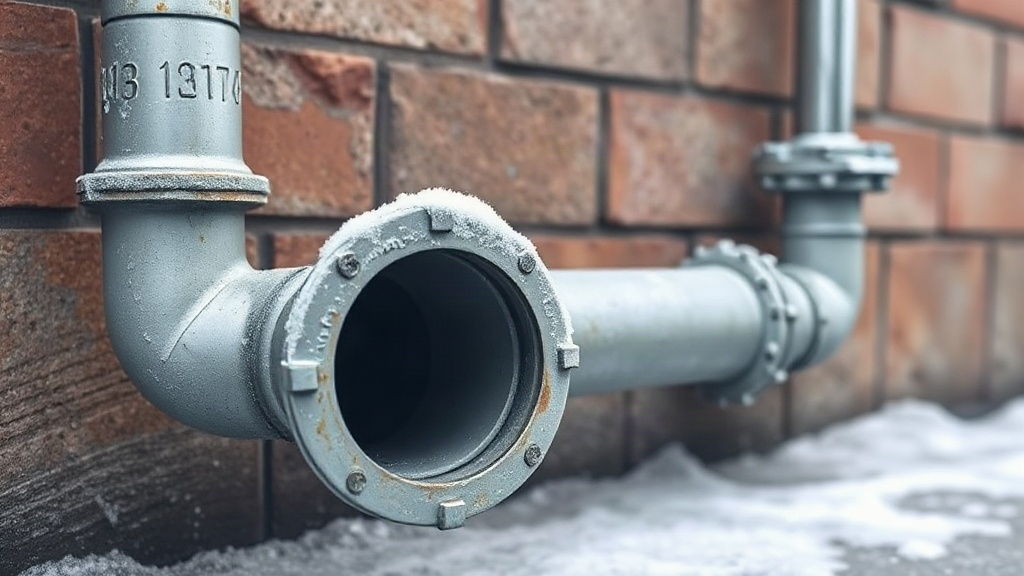
A frozen pipe is a section of water line where the liquid inside has turned to ice. Water expands as it freezes, so the ice presses outward against the pipe walls. That pressure is what makes freezing dangerous, not the cold itself. Thawing a frozen pipe means restoring flow by warming that ice gradually from the outside in.
Frozen lines usually appear in predictable places. The most common are exterior walls, unheated basements, crawl spaces, attics, garages, and any pipe running along an outside wall. Outdoor hose bibs and sprinkler lines freeze first because they sit fully exposed to the wind. Homes in cold climates see this every winter; older homes with poor insulation see it more often.
How to tell a pipe is frozen, not just shut off
A few signs separate a frozen line from a closed valve or a water main issue:
- No water, or only a trickle, from one faucet while others run normally.
- Frost visible on the pipe surface or a bulge in the line.
- A faint gurgling or banging when you open the tap.
- A section of pipe that feels colder than the rest when you touch it.
If every faucet in the house is dry, the problem may sit at the main line or meter instead of inside your walls. Check that first before you start heating anything.
The pressure problem behind every frozen pipe
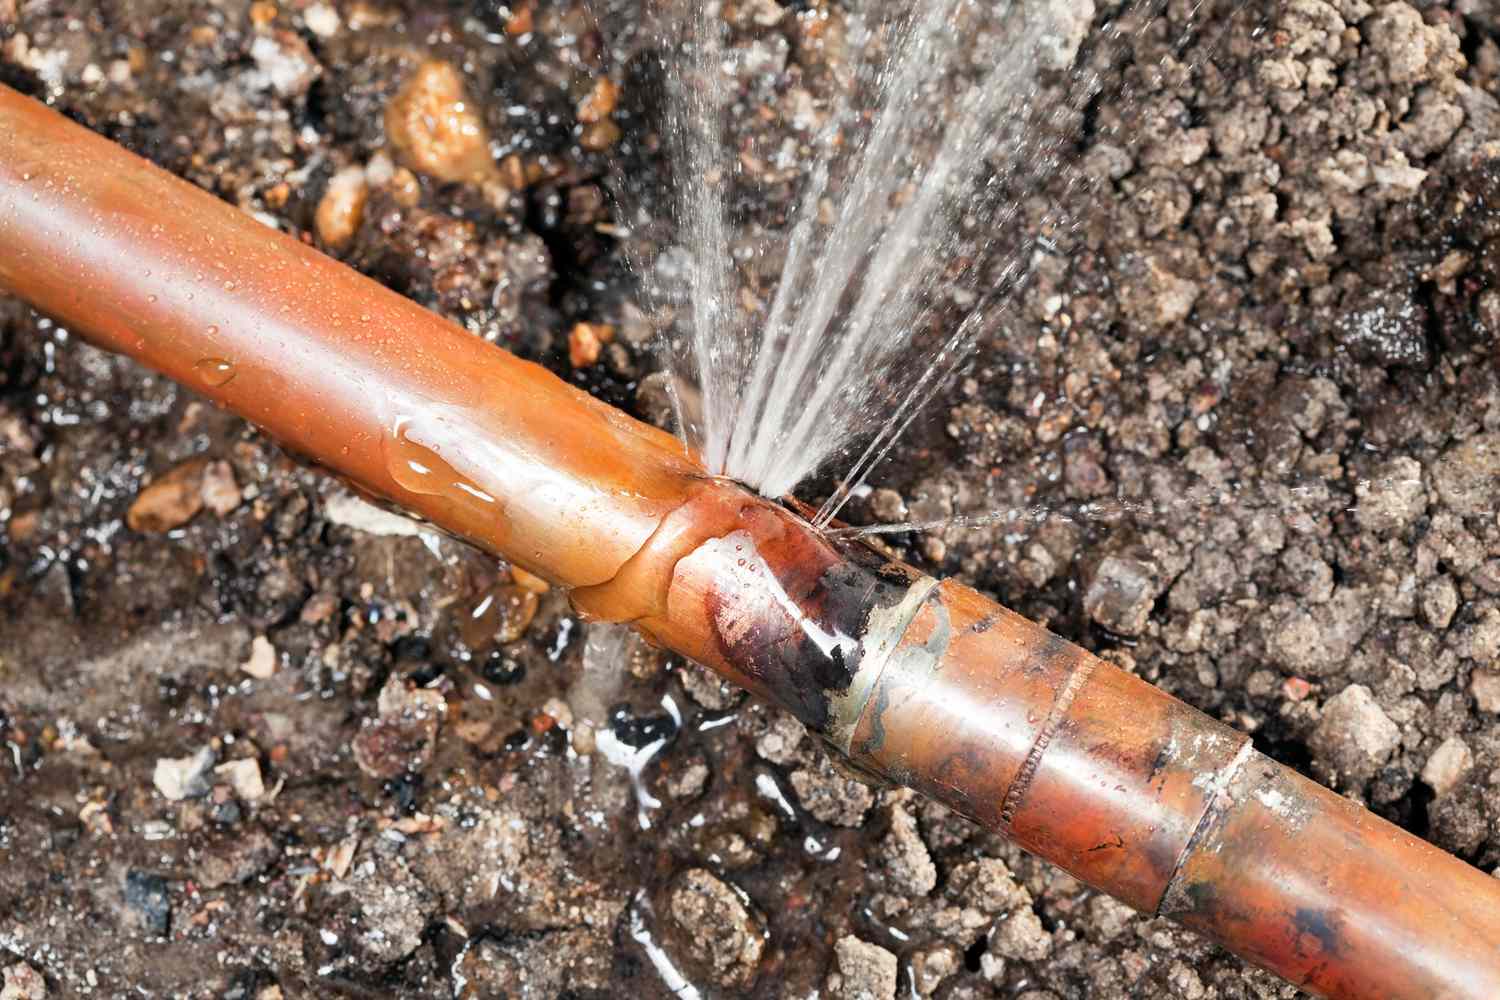
Ice does not need a tiny crack to cause damage. A frozen plug traps water between the ice and a closed valve or faucet. As more ice forms, pressure builds in that trapped section, and the weakest point gives way. The burst often happens after the thaw, when water suddenly escapes through a split you cannot see.
That timeline explains why speed matters. A pipe can look fine while frozen and leak heavily once it opens up. Knowing how to shut off your main water valve before an emergency is as valuable as any thawing tool.
Many homeowners relax the moment water flows again. Inspect the thawed section for bulges, cracks, and damp spots before you walk away.
Takeaway: Identify the frozen section and confirm the water is off before you add any heat.
Why thaw frozen pipe matters
Thawing promptly protects three things at once: your water supply, your walls and floors, and your budget. A pipe that stays frozen lets pressure build, and a burst inside a wall can release hundreds of gallons before anyone notices. Water damage from a split line often costs far more than the plumbing repair itself.
The risk grows with every hour
Cold does not stay static. A partially frozen line can freeze solid overnight, and the trapped pressure rises as ice forms. Waiting until morning may turn a simple thaw job into a demolition job, with drywall, insulation, and flooring pulled out to reach the leak.
- Economic cost: Burst pipe repairs plus water cleanup, often far above the price of a service call.
- Health risk: Standing water feeds mold within a day or two in a warm room.
- Safety risk: Wet floors near electrical outlets and panels create shock hazards.
The hidden damage you cannot see
Water travels. It follows joists, drips down inside walls, and pools under floors far from the frozen section. You may see a stain on the ceiling in a room nowhere near the actual pipe. That is why catching the problem early keeps the repair small and contained.
Insurance matters here too. Many homeowner policies cover sudden water damage from a burst pipe but expect you to take reasonable steps to prevent further loss. Documenting what you did and when can help if you file a claim later.
When professional help pays for itself
Some situations justify calling a licensed plumber right away. These include a frozen pipe inside a concrete slab, a line that will not thaw after an hour of gentle heat, or any evidence of a leak. A plumber can also install heat tape or insulation so the same line does not freeze next winter.
Find your main water valve now, before you need it. Tag it clearly, and show every adult in the house how to close it.
Takeaway: Fast, careful thawing protects your home from water damage and turns a possible emergency into a routine fix.
Best practices
Start with safety, then work methodically from the faucet outward. The goal is steady, gentle warmth applied to the frozen section, with the water supply off and a tap open to relieve pressure. Give yourself an hour before you decide the method is failing.
Step-by-step thawing
- Shut off the main water valve and open the nearest faucet, hot and cold.
- Locate the frozen section by feel or with a thermal probe if you have one.
- Apply gentle heat starting at the faucet end and moving toward the blockage.
- Check for flow every few minutes as the ice melts.
- Inspect for leaks once water runs freely, then restore the supply slowly.
Safe heat sources and where to point them
A hair dryer on a medium setting is the safest tool for most homeowners. Warm, damp towels wrapped around the pipe work well for small sections. A space heater can warm an enclosed basement or crawl space, provided you keep it away from flammable material and never leave it unattended.
Comparison: safe heating methods
| Method | Best for | Cautions |
|---|---|---|
| Hair dryer | Exposed indoor pipes | Keep the cord dry and away from water |
| Warm towels | Short accessible sections | Reheat and rewrap as they cool |
| Space heater | Enclosed rooms and crawl spaces | Never near flammables; never unattended |
| Electric heat tape | Prevention and repeat freezes | Follow the manufacturer’s installation steps |
What to do after the water flows
Let the tap run for a few minutes to clear any debris. Walk the length of the thawed pipe and look for bulges, cracks, and damp patches. If you find a leak, close the main valve again and call a plumber. Then insulate the section so the same spot does not freeze during the next cold snap.
Blowtorches and heat guns can overheat a pipe, melt plastic fittings, and start fires inside walls. Stick to warm air and warm water methods.
Takeaway: Slow, steady heat from the faucet outward is the safest path, and a careful post-thaw inspection prevents surprises.
Common mistakes to avoid
Most frozen pipe disasters trace back to a handful of avoidable errors. Recognizing them before you start saves time, money, and stress.
Heating too hard or too fast
The most serious mistake is applying intense heat to a cold pipe. A blowtorch or heat gun can heat trapped water into steam, which raises pressure inside the line. Rapid heating also stresses joints and can crack solder connections. Plastic pipes soften and deform when overheated.
The second big error is leaving the water on. Without an open faucet and a closed supply, pressure has nowhere to go as the ice melts. Always confirm both before you apply heat.
Ignoring the obvious exposures
People often warm the pipe inside the house while forgetting the outdoor spigot feeding it. Check exterior lines first, disconnect hoses, and confirm the outdoor valve is closed for the season.
Other common missteps include:
- Using an extension cord near water without checking for damage.
- Leaving a space heater unattended in a crawl space.
- Pouring boiling water directly onto a pipe, which can crack it from thermal shock.
- Thawing with a propane torch in an attic full of insulation and roof trusses.
If water flows but pressure stays weak, you may have a split line inside the wall. Stop and call a professional.
Forgetting prevention after the repair
Once the pipe thaws, many homeowners move on and ignore the cause. Insulate exposed runs, seal gaps where cold air enters, and keep cabinet doors open on exterior-wall sinks during hard freezes. A little prevention beats a repeat emergency.
Takeaway: Gentle, patient heating plus a quick leak check prevents the mistakes that turn a frozen pipe into a flooded home.
FAQ
How long does it take to thaw a frozen pipe?
Most exposed pipe sections thaw within 20 to 60 minutes with steady heat. Thick walls, deep freezes in a crawl space, or long frozen runs can take two hours or more. If a section shows no progress after an hour of gentle warming, call a plumber rather than escalating the heat.
Can I use a blowtorch or heat gun?
No. Open flames and high-temperature heat guns can overheat the pipe, melt plastic, and start fires inside walls. They also risk turning trapped water into steam. A hair dryer, warm towels, or a space heater placed at a safe distance do the job safely.
What should I do if the pipe bursts while thawing?
Close the main water valve immediately, then open faucets to drain any remaining water. Move belongings away from the area and call a plumber. Take photos for your insurance claim before cleanup begins.
Is it cheaper to call a plumber or thaw it myself?
Thawing an exposed pipe yourself costs almost nothing and usually works. Call a plumber for slab, wall, or in-floor lines, repeated freezes, or any sign of a leak. A single service call is cheaper than repairing water damage.
Can I prevent frozen pipes before winter?
Yes. Insulate exposed runs, disconnect garden hoses, seal air leaks around pipes, and keep the thermostat at a steady warm setting during cold snaps. Heat tape is a reliable option for troublesome lines.
Conclusion
A frozen pipe is a warning, not just an inconvenience. Shut off the water, open a faucet, and apply gentle heat from the faucet end toward the blockage. Skip open flames and high heat, then inspect carefully once flow returns. That sequence protects your property, your budget, and your peace of mind.
Your next step is simple. Find your main water valve today and confirm it turns freely. Locate the pipes most exposed to cold and insulate them before the next freeze. When you need to thaw frozen pipe again, you will already know exactly where to start and how to do it safely.