
So, you’ve decided to tackle that pesky interior door project yourself. Good for you! Installing a door might seem like a daunting task, but with the right guidance and a little elbow grease, you can transform a plain doorway into a stylish and functional feature. Let’s dive in!
Understanding Your Door and Its Surroundings
Before you even touch a tool, it’s crucial to understand what you’re working with. Take a good look at your door and the surrounding area. What kind of door do you have? Is it a hollow core, solid core, or something more exotic? Knowing the door type will influence the tools and techniques you’ll use.
Your door frame, or jamb, is equally important. Is it pre-hung (door and frame come as one unit) or is it a rough opening (just the frame)? Understanding this will determine the initial steps in your installation process.
Measure twice, cut once, right? This old adage holds especially true for door installation. Measure the height and width of your door opening precisely. You don’t want to end up with a door that’s too big or too small.
Gathering Your Arsenal: Essential Tools
Having the right tools is like having a well-equipped kitchen. You can’t cook a gourmet meal without the proper utensils, and you can’t install an interior door without the right tools. Here’s a basic toolkit to get you started:
- Measuring tape
- Level
- Pencil
- Saw (circular or miter saw)
- Drill
- Screwdriver
- Chisel
- Hammer
- Shim
- Wood filler
- Caulk gun
- Safety glasses
- Work gloves
This list might seem overwhelming, but don’t worry. You probably have some of these tools already. And if not, you can rent or borrow them.
Preparing the Doorway: A Solid Foundation
Imagine building a house on shaky ground. It’s a recipe for disaster. The same goes for your door. The doorway needs to be prepared before you even think about hanging the door.
If you’re working with a rough opening, you’ll need to install the door frame. This involves measuring, cutting, and securing the jamb pieces together. It’s like building a skeleton for your door.
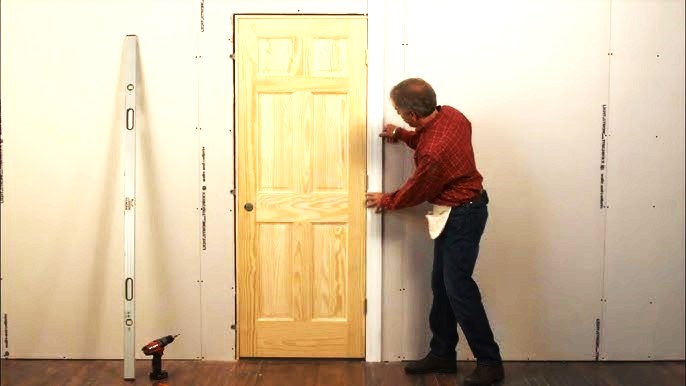
Once the frame is in place, it’s time for leveling. Use a level to ensure the frame is perfectly plumb and square. This will prevent your door from sticking or sagging.
Hanging the Door: The Moment of Truth
Now comes the fun part – hanging the door! This is where precision and patience are key.
Start by removing the hinges from the door. This might sound counterintuitive, but it makes the installation process easier.
Position the door in the frame and mark the hinge locations. Use a level to ensure the hinges are aligned properly.
Attach the hinges to the door and the frame. Take your time, and make sure the hinges are screwed in securely.
Once the hinges are in place, you can hang the door. Give it a gentle push and close it. If it swings freely without rubbing, you’re on the right track.
Fine-Tuning: Getting it Just Right
Your door might not be perfect right away. That’s okay! This is where the fine-tuning begins.
Use shims to adjust the door’s alignment. Place shims between the door and the frame to correct any gaps.
Check the door’s clearance. There should be a small gap between the bottom of the door and the floor for ventilation.
Once you’re happy with the alignment, remove the shims and fill the gaps with wood filler.
Adding the Finishing Touches: The Crown Jewel
Your door is hanging, but it’s not quite finished. It’s time to add the finishing touches.
Install the doorstop. This prevents the door from swinging too far open.
Caulk around the edges of the door to seal any gaps and prevent drafts.
Paint or stain the door and frame to match your decor.
Common Issues
Even the most experienced DIYers encounter problems. Here are some common issues and how to fix them:
- Door sticks: Check for obstructions, adjust the hinges, or plane the door edge.
- Door sags: Tighten the hinges or install additional hinges.
- Gaps around the door: Add shims or caulk the gaps.
Conclusion
Installing an interior door might seem intimidating, but with the right approach and a little patience, you can achieve professional results. Remember, measuring accurately, preparing the doorway properly, and taking your time are essential for success.
So, roll up your sleeves, gather your tools, and transform your doorway into a stunning focal point. You’ve got this!