Hearing creaks underfoot or noticing unsightly cracks in your flooring can be frustrating. Fortunately, many common floor problems can be tackled with some DIY know-how and a few basic tools. This guide will walk you through some of the most common floor repair issues and provide effective solutions.
Identifying Common Floor Problems
- Squeaky Floors: Usually caused by loose boards rubbing against each other or the subfloor. The most common culprit is dried-out wood in older homes.
- Cracks: Can appear due to changes in humidity, wood shrinkage, or improper installation. Minor cracks are mainly cosmetic, but larger ones can worsen over time.
- Uneven Floors: Can result from subfloor issues, settling of the house, or damage to the floorboards themselves.
- Loose Tiles: In tile floors, loose tiles create a tripping hazard and allow moisture to seep in, leading to further damage.
DIY Repair Solutions
Squeaky Floors:
- Locate the Squeak: Walk around and pinpoint the exact spots where the noise occurs.
- Talcum Powder Trick: For squeaks between boards, sprinkle talcum powder or powdered graphite onto the seam. Use a broom to work it into the gap. This can often lubricate the wood and silence the squeak.
- Shim Method: If the board is loose, drive a wood shim (thin wedge) coated with wood glue into the gap between the board and the subfloor. Use a hammer to tap it in gently until the board is level. Trim any excess shim.
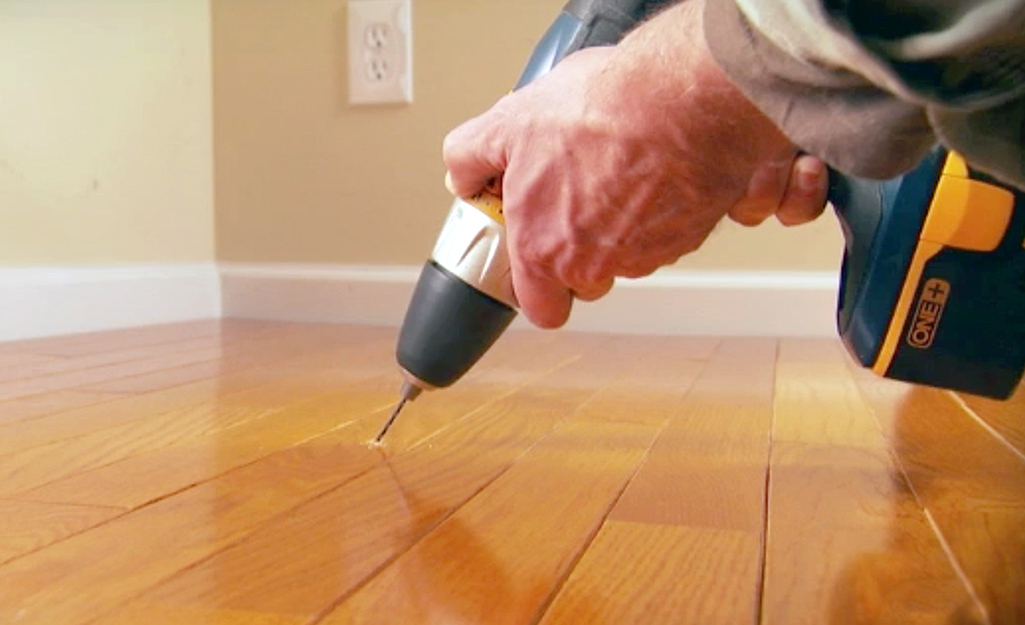
- Screws or Nails: For squeaks near joists (the beams that support the floor), secure the loose board by driving a screw or nail through it and into the joist. Make sure the fastener is long enough to reach the joist without poking through the top of the floor.

Related: Dreamy Bedroom Makeover: Ideas on a Budget to Create Your Perfect Retreat
Cracks:
- Wood Filler: For small cracks, use a wood filler that matches the color of your floor. Apply it with a putty knife, overfilling slightly. Sand smooth once dry.
- Epoxy: Larger cracks might need a stronger solution like epoxy. Follow the manufacturer’s instructions for mixing and application. Epoxy often requires a longer drying time.
Uneven Floors:
- Sanding: Minor unevenness can be addressed by sanding high spots. This is a more involved process, so consider it if you have several uneven areas or are comfortable with power tools.
- Subfloor Repair: Significant unevenness might indicate subfloor problems. This is best left to a professional for assessment and repair.
Loose Tiles:
- Remove the Tile: Carefully pry up the loose tile. Remove old adhesive from both the tile and the subfloor.
- New Adhesive: Apply fresh tile adhesive to the subfloor (follow product instructions). Press the tile back into place, ensuring it’s level with the surrounding tiles. Use spacers if needed.
Important Considerations:
- Safety First: Always wear safety glasses and a dust mask when sanding or working with wood fillers or adhesives.
- Test in a Hidden Area: If you’re using a new product or technique, try it out in a less visible spot to ensure the results are satisfactory.
- Consult a Professional: If the problem is extensive, if you’re unsure of the cause, or if DIY repairs aren’t successful, don’t hesitate to call a professional flooring contractor.
Beyond DIY:
While many floor repairs can be tackled yourself, some situations require professional expertise. For example:
- Extensive water damage
- Major structural issues
- Widespread unevenness
- Complex or intricate flooring patterns
Remember, a well-maintained floor not only enhances the beauty of your home but also adds to its value. By addressing minor issues promptly, you can prevent them from becoming major headaches down the road.